
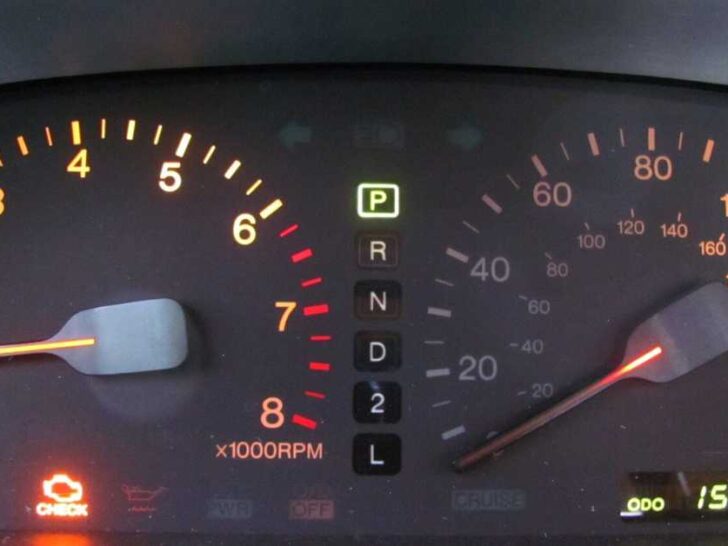

O2 sensors mount in the exhaust manifold, attach to the engine, and collect toxic emission gases. It identifies the unburned air, informs ECU, stabilizes combustion, and improves engine efficiency.
Why is my check engine light still on after changing O2 sensor? Check engine light can still be ON after changing the O2 sensor because the codes require removal, you replaced the wrong oxygen sensor, and the engine light requires a reset. In addition, incorrect sensor adjustment, malfunctioning sensors, and emission system faults keep it ON.
O2 sensor exposes steam, toxic gases, hot air, and contamination, which breaks them. A faulty O2 sensor cannot control emissions, causes fuel deficiency, and reduces the fuel flow.
Wrong sensor replacement
A non-skilled and untrained person cannot troubleshoot the faulty oxygen sensors in the exhaust manifold of their car engine. As a result, they remove and change the wrong oxygen sensor, which triggers the check light on the screen.
The latest and most advanced vehicles comprise dual sensors to regulate the fuel and air ratio and control the catalytic converter. The primary can mix the signals and sends the information to the electronic control unit from the secondary sensor.
In these conditions, you can change the non-faulty sensor, and the check warning keeps blinking. To troubleshoot them, start the vehicle and leave the engine for idling of 1 to 2.5 minutes.
Check the idling time on the voltmeter. Record the fluctuation of voltage flow and assess the lowest and highest values.
In 1 to 2 minutes, you can identify the malfunctioning sensor due to its performance.
Codes require removal
The fault code of O2 sensors is P0135, which indicates the problems of the catalytic converter. However, P0162 shows the malfunctioning of the electric circuit.
In addition, other codes appear that indicate different problems. The computer control unit of the car collects these codes and stores them.
Due to ECU, these codes appear on the touchscreen and require troubleshooting and repairing of equipment.
In some conditions, ECU does not remove these storage codes, which can continuously keep the check light ON.
The digital codes cannot learn the repair and fixation. However, you can remove them from the computer system by driving the vehicle for around 52 to 99 miles after swapping the O2.
Due to this driving, the computer system automatically calibrates. It removes the stored codes and information in the computer.
You can use the battery to clean the codes. In this condition, remove the battery connectors for half an hour.
In its unplugged condition, it can draw false stored information from the system. Also, you can connect the onboard diagnostic scanners to the computer, assess the codes, and clean them.
On older variants, you can remove them with an unplugged battery. For modern cars, you require OBDII scanners for these procedures.
Engine light requires a reset
Sometimes, the check light remains on due to its internal faults. However, its replacement does not affect the light because it malfunctions.
Moreover, the ECU of a car works in a cycle of different procedures. Therefore, you can troubleshoot the problems and repair them.
But, it does not clean the warning from the screen because the computer takes a few minutes to unlearn the old information. For its automatic reset, it consumes around 10 to 20 minutes.
You can refresh its settings to clean the old codes. After these corrections, the system automatically identifies the absence of problems and turns them off.
However, you can reset the check engine light with the ignition system. With a specific robot, the on-and-off ignition can clean the light from the dashboard.
Insert and rotate the key in the ignition for 1.5 to 2.5 seconds. Repeat the procedure 2 to 3 times and reboot the system.
Wrong replacement procedure
The O2 sensor does not trigger the check light without internal faults. However, it works efficiently at its standard range and supports the catalytic converter.
In these conditions, its replacement keeps the light ON due to incorrect technique. As a result, the equipment malfunctions trigger a warning light and require repair.
To avoid the problem further, read the manual and learn about the codes. Never change it when it has no internal wear.
Check the other parts of the emission system before its replacement. Moreover, an incorrect installation method can cause a warning.
Take professional help for the installation and correct adjustment. During installation, adjust it in front of the catalyst convert.
Tighten it with bolts and adjust it inside the manifold.
Malfunctioning O2 sensor
A few people use incompatible oxygen sensors to replace worn-out sensors. In these conditions, they cannot support the emissions of a vehicle.
It malfunctions due to an incorrect ratio of air and fuel. Due to its failure, it keeps the warning light ON continuously.
As a result, the readings fluctuate, which causes fault codes. You can clean the flashing warning light by replacing them on your vehicle.
In this procedure, attach an onboard diagnostic scanner to the engine and check its faults. Their number varies according to the type of car and its specs.
Moreover, increase the height of the frame on both sides. Loosen the connector from it and pull the wiring harness.
Adjust a particular socket on it, loosen it and remove it from the manifold. For adjustment, select a compatible option and adjust it in the manifold.
Reinstall the harness and tighten the connector, which removes the check light.
Internal faults of the emission system
The check engine light remains ON after replacing the oxygen sensor because the exhaust malfunctions. Its internal faults and broken components trigger the warning.
The broken mufflers cause excessive emissions. Moreover, they can change the combustion ratio of the mixture.
Heat and accumulated debris can break the mufflers. However, condensation and moisture are the primary cause of muffler failure.
Due to heat, the manifold walls crack and require repair. Furthermore, you can identify a warning check light and burning smell.
Catalytic converter damages due to broken leaking gaskets, and you can repair them with a high-quality sealant. Replace it by lifting the frame from the front and backside.
Inside the manifold, assess the catalytic converter, spray the screws and loosen them. In these conditions, pull them from the manifold.
Pull the faulty catalytic converter and add a compatible option and weld it. Align the bolts in a particular symmetry to reduce fluid leakage.
Adjust the four bolts in the mounting holes and tighten all the screws and bolts with a wrench. You cannot leave the nuts without synchronization because it causes leakage in the emission system.
Reassemble the removed parts and fix them in their mounting position. Readjust the electric wiring and fix the connectors to avoid the wiring light.
Related Articles: