

Here are the 13 best DIY methods for installing the underglow light strips on your truck. We have added the tools required along with this step-by-step guide.
How to Install Underglow Lights on a Truck? You can install underglow lights on your truck by lifting the truck, add the LED light kit, extend and connect the wires, and secure the connections.
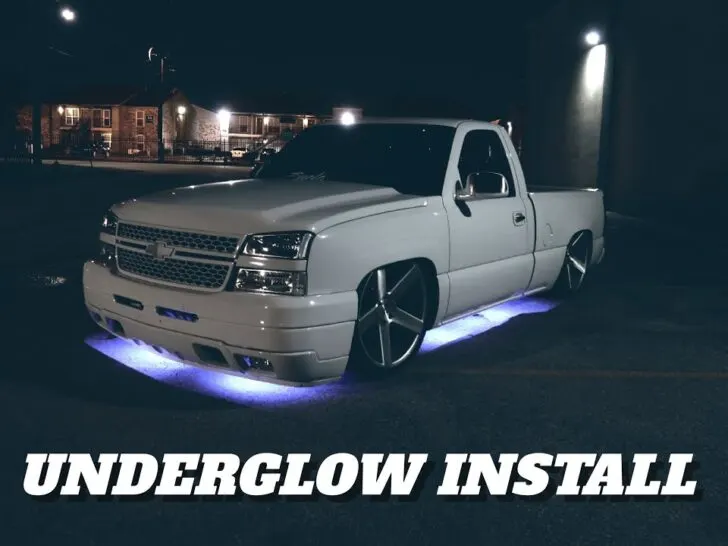
Under glow lights on a truck is an entirely personal preference. You can choose single-color light strips or multi-color products.
How to Install Underglow Lights on a Truck?
The procedure is quite straightforward, and it moves from the edges of the truck’s body to the engine. Before starting the process, clean your vehicle properly.
You can use a hydraulic jack for bringing the pickup in an upward direction. You can also take mechanical help to mount this product. In the absence of a hydraulic jack, you can still add these to your pickup.
Conventional method
You need products and an uplifting jack, excessive lids of the bulbs, and a non-permanent marker for making a rough sketch, protective gloves, safety glasses, manuals, and zip ties.
In this method, you can use individual strips. Each strip can be connected to the engine by its end. Join them end to end with each other. Route each wire individually in the module box of the engine.
Linking adaptors method
You need strips of under glow lights, double tape or zip ties, a marker (of any color preferably black) for making a rough sketch, and an extension cord or a router.
In this method, you can connect all the strips. If there are four strips, then join their respective adaptors. These pieces of strips already have existing adaptors that have the interconnecting ability.
There is no need to use an extension cord or a router for the power supply. This process is a bit complicated, but it helps a lot for automobiles with efficient battery timings.
Install LED Strips Under the Truck
Let me explain all the details here:
Setting up the LED strips
Survey and check the lower area of your pickup thoroughly to make sure that there is enough space for these.
Security is an essential feature, consider the bolts, brackets, and small openings under the vehicle. You can use zips for tying the strips together and with the pickup.
These zip ties have some specifications; you cannot just put them anywhere. Use the zip tie every twelve inches. These can provide better support and security to the pieces. The lines should be straight, and the zip should be tightened correctly.
If there is no one to help, then you can use double-sided tape temporally. Adjust the strips in a raw sketch and put tape on the pieces.
Extend the wires
You can route the four cables to the module box and then to the bay of the engine. The connection should be inside the module box; this procedure is related to connecting adaptors.
Some wires have long strips that can move through the edges, but some are short. If you are facing such cases, then you can use extension wires.
This process can enhance the reaching power to all the parts. The procedure is carried out mostly when it cannot move along the rear bumper of the vehicle.
Connect the wires
In this step, tap the wiring carefully on the engine and module box. Properly adjust the positive and negative ends of the wires.
Tap the red color wire with the positive end of the engine. Adjust and tap the black wire with the negative end, which is also the engine’s ground end.
Sometimes there are some extra wires there inside the package. You can read the manual for better comprehension of wiring and connections. This can also make your truck idle louder.
Adjust the module box
You should adjust the module box near the battery. Ensure that it is away from the engine and radiator of the vehicle; otherwise, it can catch fire due to excessive heat production.
The placing area of the module box must be dry all the time. The battery or fuse box is designed to place in dry areas, and it has a dried structure as well.
This can prevent the box from damaging. You can get better results if you extend the antenna; it helps capture signals even when the hood remains closed.
In the end, test the whole setup and make sure that all devices are working correctly.
Install an Underglow Light Kit on Truck
You require protective gloves, safety glasses, manuals, under glow light kit, and zip ties.
Layout the pattern
Adding a kit is an excellent up-gradation, and it is easy to mount. First of all, open the kit and take out the gadgets.
Mount it on the body of the vehicle. Two big lights should move under the door area, and the small products should be placed under the rear bumper area.
It requires hardware tools like screws and bolts. Each tube gets two brackets for mounting and four metal screws for self-taping. This is helpful when you plan to transport a motorcycle on your truck.
Lift the vehicle
Lift the vehicle and support the structure with a rod of hoop-prop. Locate the best place for adjusting the control box and place it there with double side tape.
Both the negative and positive wires should be in the direction of the battery. These connectors should face the course of the vehicle. You can replace the broken side mirror on your pickup.
Disconnect negative wire
Use a battery wrench and disconnect the negative wire connection. Now divide the positive connecting as well. Do not use hands while performing this step; otherwise, it can harm you.
Mounting
Place the tubes on all the areas wherever you want to mount them. Use double-sided tape temporarily and make a rough sketch. Now use zip ties and hard screws and tight all the tubes under the body of your vehicle. Repeat this process for all four tubes of the kit.
Wiring and plugging
In the kit, there are five wires, and they have male ends. Firstly take one end of a wire and place it on the control box. Move it to the direction of the backside area of the vehicle.
Similarly, run all the remaining cables against each other. Adjust them all beneath the body of the vehicle. No wire should cut the different cord. Connect all of them to the power box for maximum energy supply.
Secure all the wires with ties and attach them firmly. Do not mount the cables and tubes on moving areas of the vehicle; otherwise, they can be damaged.
Connection
Now connect the positive and negative connections of the battery. Open the toggle switch and enjoy the journey.
Why would you use the Underglow Lights on your Truck?
These consume lesser power as compared to other devices. Although these have not much effect on the efficacy of batteries, they work longer with them. If you want to work your pickup battery in a good position, then use these.
These have an extraordinary impact on producing light under the pickup. They are brighter in color and very strong in saturation.
These can disperse millions of different hues at once. They create no dead spots and can cover a wide area. They can on and off, and this flashing effect is an extraordinary quality.
These are more durable and long-lasting. They are shockproof and get no damage to accidents and jerks.
Precautions
You should not use flashlights under the pickup; otherwise, they can cause disturbance to other drivers. You should not use restricted colors. The bulbs must have an accurate covering on them.
You should not put lights open even when they are beneath the vehicle. The rainwater and heavy jerks can result in damage to these devices.
If you will keep them off, that means you are killing their purpose. You should avoid using illuminating lights; they are not suitable. Some countries do not permit these on the vehicle.