

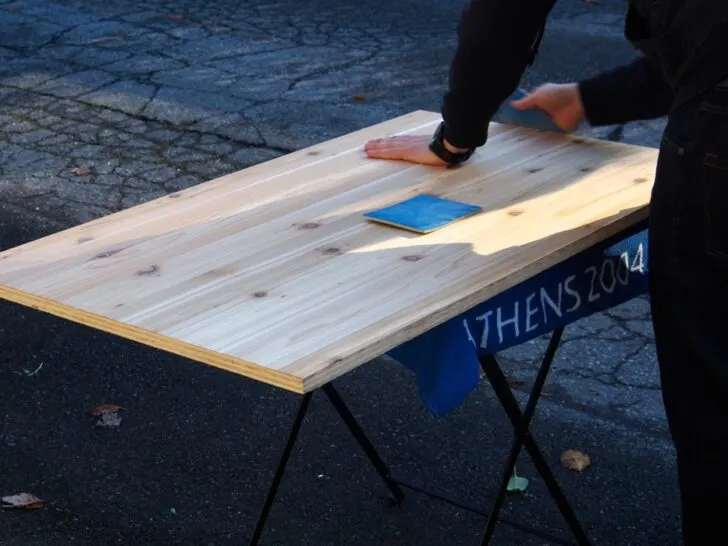
RV or camper seems just like a house and provides you a luxury journey. An RV table is a significant part of RV furniture that is used repeatedly.
How to Make RV Table More Sturdy? In general, you can make your RV table more sturdy by tightening the nuts and screws, stabilizing its legs, adjust its brackets, and adding some weight to the tabletop. It is better to fix the table to the RV floor to secure it properly.
How to Make RV Table More Sturdy?
Rv tables are mostly wobbling and unstable because few types of tables use only one pedestal mounting bracket.
With passing time, mounting screws and poles become loosen or weaken.
Fortunately, this mounting bracket is relatively easy to repair and replace with the latest version of the pedestal bracket.
Tools required
- Screwdriver
- Duct tape
- Wrench
- Glue
- Wedges
- Blade
Use a flat surface
You should first focus on the RV floor. The more the surface is flat will give you more stable furniture. Level or uneven floor will automatically offer sturdy effects.
You can merely alternate its position to the flat or equal surface. It will prevent wobbling during vehicle riding. A natural variation will sort out your dilemma.
Measure the length of the RV table
If you are still experiencing a similar issue. The problem may be with table legs. Take a measuring tape and measures each leg length.
Make sure that all legs have a similar or equal extent. There might be a leg that may skip the caster, knob, or an additional object that makes it slower than the rest.
You can use wooden pieces, matchbooks, cardboard to formulate the shorter leg to meet the desired length.
You can use decorated items, wraps, or tapes to hide the spare themes you are using to balance table legs.
Tighten the screws of the pedestal bracket
The pedestal mounting bracket is round-shaped that fastens between its leg and RV floor.
The latches or bolts that carry the mounting bracket may get untie by duration. When your table seems swirling, you should tight the fasteners or screws by using a drill driver or screwdriver.
Unlock the old bolts if they come out effortlessly or flush to the surface, expect to replace them with new superior or longer padlocks.
If your remaining bolt size is about #6, you should manipulate with #7 during replacement.
Check the table stability by sitting or holding the top if you think it requires more latches.
You can add extra bolts to make it completely safe and lasting. The whole process of fixing will take around 20 to 25 minutes.
Legs fixation
Proper leg fixation will save you from shaking issues. It depends on whatever you use for the mending, bloating glue, or screws.
If you use fasteners to attach the legs, be sure you are trying a suitable screwdriver. You should rotate the screws until they tight entirely.
If you fasten the legs with a bolt, always use an adequate wrench, moving wrench until the legs get fixed or constant appropriately.
There is specific glue available in the market for certain types of material.
Make sure to attach the legs in an accurate position inside the tabletop. Keep the proportional distance between all portions.
Replace RV table legs with thicker and powerful legs
You can make your RV table stronger by altering its legs. This process will help to prevent limbs from shaking.
You should fasten the legs with substantial bolts or screws. If your furniture is woody, then you should obtain hardwood legs.
It will make them more massive or heavier. This entire procedure will take approximately 40 to 60 minutes.
Steel legs compared to wooden legs
There are two categories of table legs steel or wooden legs.
It is considered that steel legs are more stout and vital as compare to wooden ones. Usually, steel legs are assessed to stable because they connect the pedestal mount bracket.
The pedestal bracket wields screws and bolts tightly. It will enhance their equilibrium.
Wooden legs are barely made with wooden and do not use a pedestal bracket; it assembles with bolts of glue which is not extensively potent.
Add extra legs to the table
Mostly four legs tables come no matter how many feet are attached to the table but, you can fasten spare legs to the table.
It will make it more heavy and credible. If it has four legs, you can add two extra degrees.
The more the legs, the more robust and vigorous table. Each leg will support the base and dissipate the weight.
Renovate pedestal mounting bracket
Your table weakens or starts leaning due to the slackening pedestal mounting bracket. By time screws or bolts get loose, but when you tighten them and the table still whirling.
There is an issue with the pedestal bracket. You can order the new pedestal mounting bracket from manufacturers for substitutes.
The pedestal mount might be an after-market version and installed firmly to the ground. You can call the organization from where you bought the pedestal mount.
The company name is mention on a logo under part of the tabletop. If you fail to find the label, search from google and find the mount which corresponds to your specific furniture design.
Order a similar mounting bracket and install it tightly to the floor with the help of large bolts or screws.
This fundamental procedure will take about 40 to 50 minutes. You can also add more than one pedestal mounting. It will increase their strength.
Add the heavy object to the tabletop
It is also an effortless and quickest way to make the furniture more stable or permanent. You do not need various materials or too many modifications to make the table powerful.
You can enhance the beauty by decorating the additional wooden chunks with contrast or similar colors with the table.
You will require heavy glass, massive wooden wedges huge mirrors to attach to the tabletop. It will give you an adequate experience. You can also cover the table height with fabric or colored sheets.
Adding corner chunks
It is another decent way to make your furniture more stable. You may also see that any expensive and high-quality table has installed corner chunks.
You will notice angular blocks stretching around the leg’s top. If your existing table is lightweight and does not have corner blocks, you can make your blocks according to the weight or size you want.
The corner chunks’ width should about 1 1/3 inches. Cut the wood diagonally with the aid of a jigsaw.
Adjust and stabilize the table
Legs arrangement is a significant point that will decide its stability. If you are formulating a new table, you have to concentrate on arrangements.
You should check whether the distance among legs is equal, screws and bolts are tight, and you have to attach the right amount of legs.
You do not install a high amount of legs, which may cause imbalance or unevenness.
Make sure that each leg’s length and thickness are equal. Always use high-quality adhesive glue while attaching the joints.
Connect the table with the RV floor
Hardly a few tables are connected to the RV floor. If you want to save your furniture for an extended time, you should attach them with its ground.
You can bolt the table on the floor with little brackets or wood screws. While drilling, make sure that there are no mechanical parts or fluid under the ground.
Choose the accurate location where you can drill and fasten it properly. Drilling makes the table fixation tighter and stops wobbling issues while traveling.
Related Articles:
How to make the RV Dinette bed more comfortable?
Can you wire a 7 pin trailer plug with electric brakes?
How to install laminate flooring in an RV?