
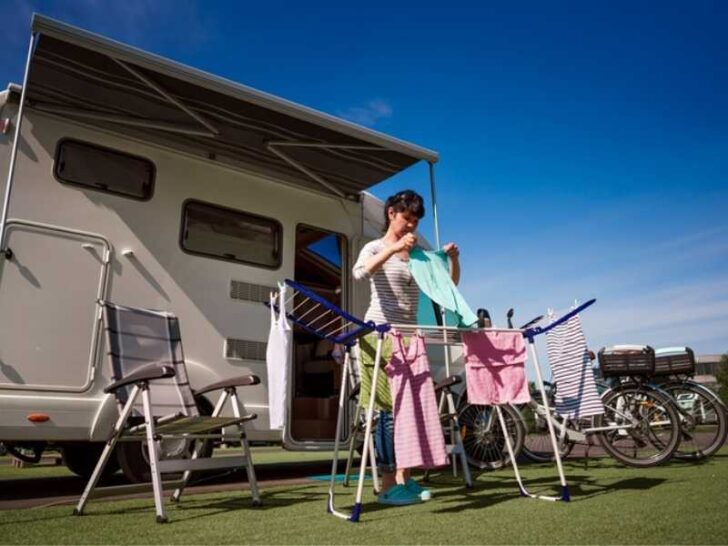
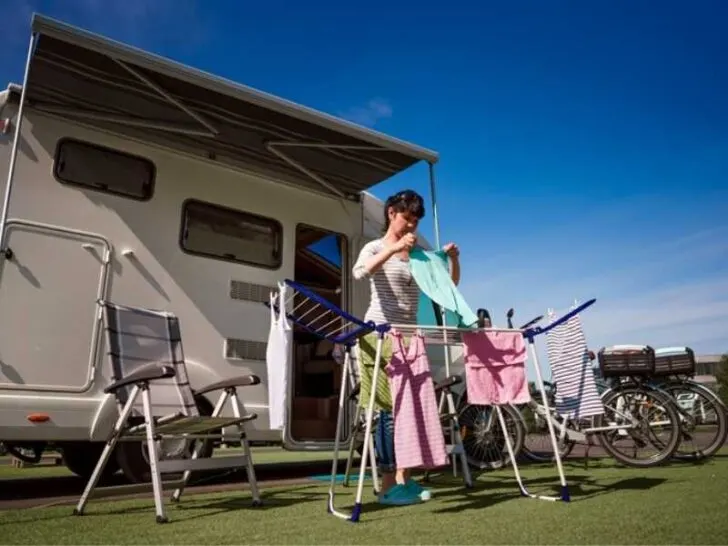
Dryer vents are the most common vent on RVs. These are not just for drying clothes, but also help to keep the air fresh and clean.
How to Install a Dryer Vent in an RV? You can install a dryer vent on your RVs to increase the working efficiency of the dryer. Take the proper measurement and make a pilot drill hole and large hole 4 1/8 inches by the hole-saw. You mark the area for bolts by placing a dryer vent and drill four holes and mount it. Add a metal plate over the opening inside the RV and adjust the hose connection from the vent to the dryer.
Its regular maintenance and cleaning are necessary to avoid issues like clogging, fire hazard, moisture deposition, and CO poisoning.
It comes in various shapes and sizes, each with its own set of qualities and characteristics. It is a piece of equipment for venting waste gases from the clothes dryer.
Dryer vent installation is a complicated procedure. It involves selecting the perfect spot to install the vent, building it, installing it properly, and cleaning it when necessary.
For its proper functioning, you have to install it properly, regular maintenance, and troubleshoot the problem that appears in it. All these steps are easy and cost-effective that improves its functioning more.
Steps to install Dryer vent in an RV
The material use in dryer vents and hoses is durable and flame-resistant, allowing it to endure the high temperatures of your dryer. In addition, built-in guards of the vent dryer protect the bugs entrance inside of your motorhome.
Dryer vent kit
You can select the dryer vent kit from an online source or other reliable sources. It includes various components that are necessary for installation.
Its some best specification includes flamed-resistant. You can easily install it and have curves louvers that protect the water entering inside of the trailer.
Remove the dryer from the RV wall
This step is helpful when you replace the dryer vent. First, you should remove the dryer from the motorhome wall and unplug the power supply from an electrical outlet.
Lose the connection that holds the exhaust pipe and vent inside and outside of the RV. In this way, remove it and debris or lint from these.
Take proper measurement
Choose a location that has a quick and direct route to the dryer inside. Purchase a kit that includes all accessories and gather all necessary equipment for installing the duct according to the need and demand.
Remove 3 to 9 feet from the maximum length that fits for each elbow. The installation method of each brand may differ, so always check the manual or recommended instructions.
Measure the inside area from which you make a hole and install it. Then, if you want to replace it with a new one at the existing place, its adjustment becomes easier for you.
Drill a hole
After deciding the place, take the measurement and drill a pilot hole. Next, you have to check the location where you’ll be installing it, drill a hole, then check outside that it is in the proper place.
There is no wires connection, joist, bolts, or other joint areas.
Plug and re-drill are necessary. You make a 4-1/8 inches hole by hole saw the inside or outside of the RV, put in the pilot hole to cut the panel by the drill machine.
You cannot cut the panel board manually. For more accuracy, place where you drill a pilot hole, cut the small piece by hand, which makes sure that there are no studs present, it has only insulation that is the way you can check it to make sure the place is safe for installation.
Start the drill and fix the hole-saw onto the area slowly to prevent the surrounding exterior body damage. Apply gentle pressure and speed it up and complete this process to make a clean cut.
Mount a metal plate inside RV on a hole
First, accurately mark the hole where you are going to install it. You require four studs of appropriate size and drill a 4-pilot hole. Mount it on that area and adjust it tightly with the fastener.
Next, put the inside plate around the hole and screw it with the four bolts. You may do it yourself or hire an expert to handle all of the above steps. You can also contact the dealer to make this adjustment that is pretty cost-effective for you.
Connect the supply hose to the dryer vent
In this step, you have to determine the distance between the dryer and vent to get the idea of proper length. First, determine measurement by using the 90-degree elbow.
If the duct or supply hose is rigid, then first measure the length and cut it. Wear gloves and take care because after cutting, edges become sharper.
Then, using the clamps, connect the hose and make sure the male end of the cutting hose is facing toward the outside vent. Aluminum tape is best to fasten the dryer hose with the vent outlet.
A hose clamp is made up of a metal strap that secures the connection.
The next step is to test the dryer and vent work efficiently and adjust. Then, when you put the dryer in its place, make sure the hose has no kink or disconnected.
What are RV dryer vents and their functioning?
You can create custom dryer vents, but this is time-consuming and costly, especially on big-scale projects.
These custom venting kits are also suitable for kitchen appliances like refrigerators and washing machines.
The kit comes with pre-installed vents for the heating, cooling, or ventilation system of different appliances.
Its installation is fast and easy, so you only need to buy some screws, wire nuts, and any other accessories you need to install it and connect it with the dryer.
Types of dryer vents ducts
There are different types of dryer ducts that are the heart of the vent.
Aluminum ducting is inexpensive, making it a suitable option, and it’s easy to install.
Since it allows for more airflow, a semi-rigid metal duct is preferable to aluminum.
Rigid metal duct working efficiency is higher. This is because it has a smooth interior and less deposition of lint and other material in it. As a result, it allows more consistent hot-humid airflow.
Another type is the plastic or vinyl duct. Avoid using slinky foil or vinyl since the chance of debris clogging and fire risk is high. You can easily add these with the washer and dryer in your RV.
Maintenance of RV dryer vent
Even in your home or motorhome, the electrical appliances you use require regular maintenance, and most people overlook this, resulting in low performance.
Maintenance requires to overcome malfunctions and other risks, as well as to enhance its operating efficiency to extend its longevity.
You should examine it and hire a professional to inspect it annually or after six months. If your time maintenance cannot finish on time and you notice an issue, it’s apparent that you need to take some preventative steps. For example, things like clothes take more time for drying, become hot during the working condition, and or burning smells come out from them.
The deposition of debris and other material in it causes various hazardous events. You should disconnect the dryer from the electrical outlet and remove the duct that connects with it. Vacuum it and reassemble these to their place.
Why dryer vent is necessary and problems associated with it?
The dryer vent expels the moist air outside from the dryer of your RV. Various factors cause a problem for it.
Increased safety
Airflow can disturb due to the accumulation of the excessive amount of lint that leads to overheating of the dryer.
The dryer heating component can burn this unwanted lint, so you should clean the lint screen properly before putting clothes in it to increase efficiency.
On the other hand, lint can pass past the screen and deposit in the duct tube that runs outside of your RV. Not only are these factors responsible for the damage, but you also spent an excessive amount of money to repair it. Its durability also improves due to regular maintenance and care.
Increase working efficiency
Everybody has a wish that their appliances work well and efficiently for years. Proper and perfect fit increases its working efficiency with the low energy consumption.
Vents clogging can also be responsible for the fumes backup. In this situation, clothing drying completely in repeated cycles or take more time due to improper airflow.
All factors increase more energy consumption, double working time, decrease durability, and damage the dryer. So, clean it properly and take preventive measures to increase its efficiency, conserve energy, enhance airflow, and reduce drying time.
Removes moisture
Hot or humid air also contains debris and lint that expel through the vent duct to the outside RV and work properly. However, deposition of it can cause block the passage of hot-humid air. In cold weather conditions, leakage becomes worse if you live in the cold region.
This humid blockage can also be the leading cause of mold and mildew growth. Lint trap for the dryers prevents the deposition of debris or clogging inside the duct.
Another factor that decreases the moisture escape is the damaged cover of the vent that allows inside movement of cold air in the vent as a result hot air become cool and deposit inside of the duct.
Since vent flaps are unidirectional, so hot humid air goes through while stopping cold air entrance.
CO poisoning
If your dryer vent system works better, then carbon monoxide can release with ease.
CO poisoning occurs when the ventilation system becomes clogged, the dryer vent should be vented outside to fix this issue.
Related Articles:
Making an RV bathroom waterproof