
The crankshaft position sensor is an essential tool to identify the modification of crankshaft performance on a Ford F150. In addition, it monitors the diesel and gas engines with its electric system.
How to Replace Crankshaft Position Sensor on Ford F150? In general, you can replace a crankshaft position sensor on a Ford F150 by discarding the pulley and air compressor. Next, disconnect the electric wiring and remove screws. Finally, remove the old device and install a new crankshaft position sensor with new wiring.
These are safety tools for the high-quality performance of the engine. They calculate and monitor the engine parameters for excellent results.
How to Replace Crankshaft Position Sensor on Ford F150?
I have explained an accurate stepwise guide to replace the crankshaft position sensor on a Ford F150.
Park the truck in a garage or any other parking station. Stabilize the structure by pulling the hand brake.
The stability of the Ford is essential to control the movements of various tools. It also provides uninterrupted access to the air compression tools.
Remove the ignition key and shut off all the electrical appliances. It saves the Ford F150 from various future issues.
Disconnect Ford F150 battery
Disconnect the electric battery and detach all the terminals. It stops the electric supply of the and reduces the chances of electric circuits.
The system gets stable after such disconnections. Next, allow the structure to cool down for at least 20 to 30 minutes.
The cooling of the appliances secures the performer from accidental situations.
It also prevents the appliances from sudden breakdown. Moreover, the protection of the engine and its performance enhances after such replacements.
The detachment of electric wires is necessary to stop the electric flow. Discard the terminals and connectors from the battery and secure the system from future errors.
Use a wrench to move structures
The loosening of the various structures involves a wrench in this procedure. Make sure the tool comprises a square opening. It has an excellent ability to insert on the pulley and relevant section.
Insert the square-shaped wrench in the square-shaped hole of the pulley. It is the compartment for the adjustments of the belt.
The belt surrounds the pulley with its moving ability. It is one of the pulleys around which a belt revolves.
You have to push the square wrench in this hole. First, stabilize the tool and keep it in one particular position. Then, proceed to the next step after such modifications.
Discard its pulley
Pull the pulley with the help of the square wrench. Keep the direction of pulling towards the engine. It helps to release the tension of the engine compartment.
You can pull the pulley section with manual strength. There is no need to involve any other tool in such procedures.
It also reduces the external tension of the pulley section and belt simultaneously. As a result, the belt becomes loose, and you can handle it according to your requirement.
Pull the belt manually and keep the direction against the air compression compartment.
Move it outwards and then discard it depending on its condition.
Discard the air conditioning device
The air compressor of the Ford F150 covers the crankshaft sensor. Therefore, the removal of the air compressor is essential for such replacement procedures.
The screws attach the air compressor to the engine compartment. You have to use an accurate size screwdriver. Adjust it on the screws and detach them from the original points.
Take a bolt puller and detach the mounting brackets of the air compressor.
Never detach the attached hoses of the air compressor on the engine section of the truck. There is no need to discard the device.
Separate it by loosening all the brackets and bolts. Then, push it aside to approach the crankshaft senor.
Disconnect electric wiring
This sensor of the engine compartment comprises electric connections. Therefore, you have to detach the electric wires to access the sensor.
There is no need to cut the electric wires. They are beneficial for the further installation of the system. Pull the electric cables from their attachment points.
You have to detach the sensor from the network of electric wires. Then, make sure once again that the system is out of electric power.
Detach the system and then pull them off from the connectors. It detaches the old device and helps to replace it conveniently.
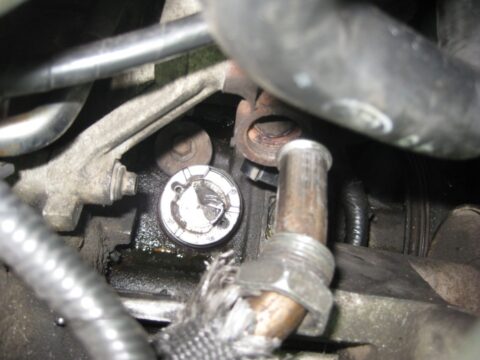
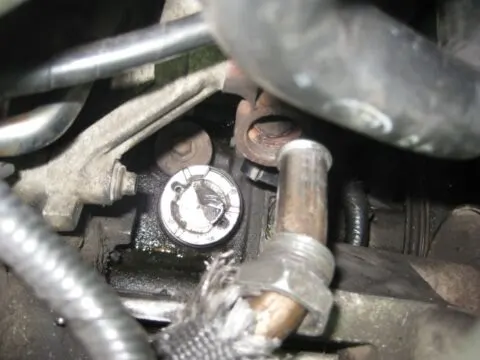
Remove supporting tools and detach the device
The crankshaft sensor comprises the supporting gadgets to attach it. It remains fixed with the engine with two bolts.
Use a bolt puller and then detach these bolts one by one. Adjust them in a polythene bag for future use. Never discard them because they have rare adjustment designs.
Always use open-end wrenches during such detachment activities. Remove the crankshaft sensor by pulling it. Always keep the direction against the engine compartment.
Install a new crankshaft position sensor
The new crankshaft sensor has the sliding ability. It makes the installation and adjustment convenient.
You can push it inside the preexisting installation compartment.
Push it inside and adjust it in an accurate position. Insert the bolts and screws in the relevant openings. Use screwdrivers and an open-end wrench to tighten them in the holes.
Adjust them firmly so that the sensor cannot move in the engine section.
Keep the rotational movement clockwise during such installation activities.
Connect its electric wires
The reconnection of the electric wires is necessary during such procedures. You have to connect the electric passage with conventional techniques.
Tuck the electric wires in the connectors. Push them inwards and make the passage stable. There is no need to push them with any tool.
Adjust them on the connecting points of the new device. Push them in the inner compartment and press them firmly.
The establishment of an electric connection is necessary for these electrical empowered devices. This is because they cannot work without electric voltages.
Rearrange everything
The rearrangement of every removed thing is necessary for the final step. Then, finally, you have to adjust the air compressor back into its original position.
Push the bolts of the air compressor and tight them with open-end wrenches. Next, adjust and install the mounting brackets of the system.
First, adjust the pulley belt on the pulley and keep the direction against the engine of Ford F150.
Adjust the belt in the preexisting portion and leave it for further adjustment. Make sure that everything turns back into previous positions.
Related Articles:
Can you replace emergency brake shoes on a Ford F150?