

Here are the easy methods to replace RV clearance lights. The maintenance cost of these lights is economical, but the excessive replacement increases the cost.
How to Replace RV Clearance Lights? Replace the RV clearance lights with specific tools and sight assessment. Remove the screws, covers, old lights, clean the area, add new clearance lights, The screws secure the system and keep it firm.
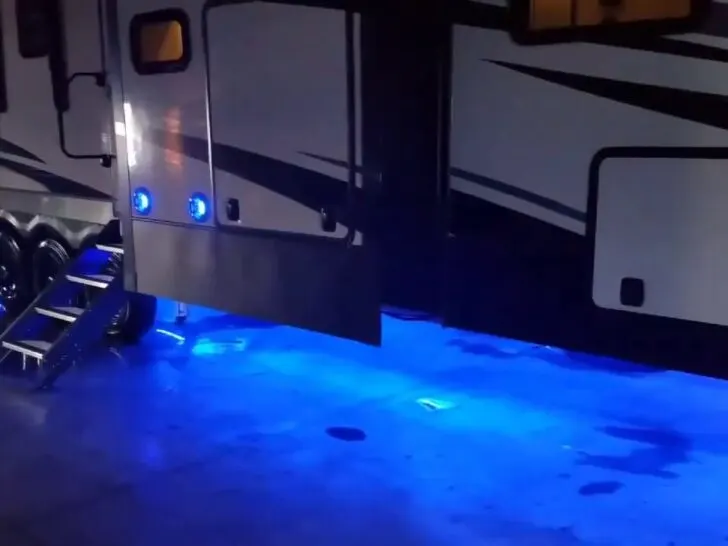
How to Replace RV Clearance Lights?
The procedure of replacement consists of few steps. All of them are effective, and you cannot skip a single step. It can lead to disasters, and you lose money as well.
Tools required
- Screwdrivers
- Non-permanent marker
- Fiber-free cloth
- Optional socket
- New electric cables
Access location of clearance lights
It is the first step, and you need to follow the instructions precisely. The clearance lights are above the RV roof. They are present externally on the rear side and have accurate lids.
The covering is strong enough to protect it in its proper place. An assessment of the light location is essential. It is suitable in that situation when you are replacing 1 to 2 lights.
You cannot perform this step without changing the wiring setup of the vehicle.
It disturbs the entire system due to different procedures. In those circumstances, when you tend to change a row of lights, then it is time-consuming.
Remove old clearance lights from RV
The removal of old light is a tricky process, and you should read the manual. It has all the essential information with images.
It provides complete comprehension of the structure and internal passages. The removal of old lights requires few tools, and you must gather them before starting the process.
The gadgets are screwdrivers of different sizes and shapes. There is a structure that is also known as the chrome of light.
Understand wiring
The understating of connecting electric wire is essential in this step. It has insulation of aluminum, and it connects with it directly.
The presence of sealing material makes it firm. You need to remove the sealing material with scratching or any other method.
It results in the free movement of the fire, and both devices lose connectivity. Pull the wire from the external portion.
It has enough length that you can catch it without breaking it. Never pull it harshly because, in few situations, it can break from the middle.
Always collect enough size for future use. Remove the old light and tuck the piece of electric cable back in place.
Remove connector or electric-wire
The removal of the connector is also suitable to carry out the process. The connectors are strong enough to combine the wire and the clearance light.
The detachment of both bodies is necessary because it helps in reinstalling the instrument. The removal of the electric cable is directly in a link with the connector of the setup.
Holding wires with devices
In few circumstances, the electric wire moves freely without any protecting end.
It can decrease the wiring efficiency, and someone can touch the wire and results in uninviting accidents.
Use plastic clips to control its movement. Attach these clips to the side structure and then secure the electric cable. It is a secure process with minimum effort.
The system remains firm, and you can utilize it in the further step. If you avoid this process, you have to install a new wire system that is expensive and requires professional expertise.
Cleaning
The roving device leaves dirt and stains on the old surface. It requires cleaning, and you can use a fiber-free cloth. Always use water and soap solutions for better clearance.
The spirit and soft sponges remove dirt snd prevent corrosive conditions.
The cleanliness allows the installation of new devices quickly. It becomes simple and less time-consuming for the person.
Add new light
The addition of new light bulbs depends on your choice. You can use light-emitting bulbs for better light and view.
The budget also describes the selection of these clearance lights. The addition of a new tool is suitable because it repairs and rearranges the system.
Settle the remaining electric cable back in the vehicle’s wall. Add a patch of tape to adjust it back accurately.
Connect the wires with RV electric system
Remove the already existing clips and free the wires. Connect the electric device with the new clearance light. Add a connector for better attachment and precise results.
You should remove all the old connections for the excellent new layouts.
There are few heat crimping devices, and the installation of such instruments makes the structure rigid. You can use it for a long time without any disturbances.
Insulation
It is a step that requires the procedure for insulation. It is a covering of the connector to prevent form short circuits and electric current.
Small equipment like heat guns is beneficial to carry out this process.
Always provide heat from a certain distance because you need to shrink the insulation. Never harm it because it demolishes the whole setup.
Add screws
Attach the new grommet device before adding the views. You cannot miss any part of the mechanism. Use a screwdriver of accurate size and start fighting.
Add screws in the relevant holes and move with clockwise directions. Keep the movement’s firm and continue them for proper attachment.
It is a security procedure, and you cannot avoid any single force exertion. The avoidance of the instructions leads to light falling anytime on the road.
You can add two screws at one time and then add the bezel portion. Keep on revolving the scores and check the firmness manually.
Adjust cover and tighten its screws
Add the cover of the light to prevent water penetration. Add screws to the lid as well for excellent protection.
Tight all the relevant crews and keep pulling them during the process. It determines the strength of the lay layout. Always keep the direction clockwise and use accurate size tools.
They can get multiple harms due to environmental conditions, and preventive measures are an essential part of the mechanism.
Use a heat gun
The final weld welding process is heat-giving, and you can use a welding machine or a heat gun. Always provide a moderate amount of heat to weld the edges and corners.
It also helps the removal of side plastics, and the firmness increases to a higher level. It is a necessary step for the security and control of light bulbs.
Turn on the ignition and electric system of the motorhome and turn on the power regulation buttons. Check the causal performance of these lights.
Make sure every replaced device is working accurately. In those situations, when you find dimming or other issues, and check them.
What are the reasons to change the RV Clearance lights?
The replacement of the RV clearance lights is not a fun system. People carry out this due to particular reasons. All of them are genuine, and you cannot avoid them for long periods.
Dim light
Their function is to provide them enough light. They provide information on the rear view of the road.
The functionality depends on few factors, and all of them must move accurately. In few situations, the lights start dimming.
It results in the water entrance of the light lenses, and they lose their efficiency to perform.
Broken parts
Sometimes one part of the device breaks due to external accidents. The damages are due to trees or surrounding buildings.
It is a direct indication of light replacement. You cannot avoid the situation because it affects the efficiency of the internal lens.
The whole series lose work performance. It can result in deadly accidents. The repairing cost of the vehicle is far massive than the replacement of this small device.
Improper seal
The broken or improper seal for the clearance eight decreases the activity of the device.
They stop working accurately, and it is not suitable for the RV. You can take preventive measures to secure the seals.
The only solution in these circumstances is the replacement of the whole instrument.
You can protect the light network with these changes. Follow the above guidelines, and they immediately enhance the work efficiency of the device.
Low performance
The old-age clearance lights are not as efficient as new instruments. People change them due to their low performance after a certain period. In this case, the device may or may not in a broken state.
The activity decreases due to excessive usage as well, and it can occur in one light. It also depends on the date of installation of these RV clearance lights.
The record maintenance is essential to understand the reasons for low performance without any damage.
Related Articles:
How to keep RV cabinets close during driving?
How to keep mice out of your RV during winter storage?