

Here are 9 easy steps to install new RV gutter spouts. It will channel the rainwater and gives a way to flow through t without causing any stain.
How to Replace RV Gutter Spouts? Replace the RV gutter spouts by finding their locations, remove the sealant cover, remove the plastic cork, remove the old piece, and install a new gutter spout.
If your RV does not have a gutter spout, the rainwater and debris slide down from its sides and leave behind the black streaks.
Water drains out from its sides, leave dark-colored streaks that just washed away. When rainwater moves from its roof, it can also bring along dust and debris.
How to Replace RV Gutter Spouts?
RV gutter spout is available in different colors like black, white, and tan with varieties of famous brands.
When you purchase it, these are available in pair or four in a pack with left and right-side orientation.
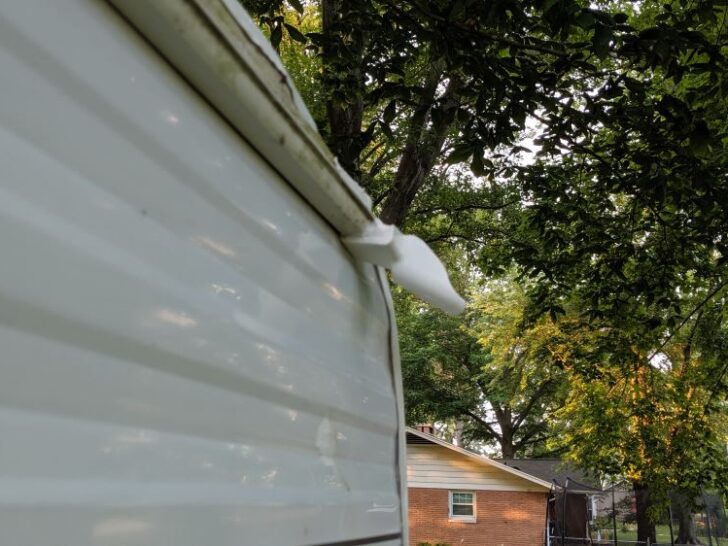
Location of the gutter spout
In this case, identify the left and right side gutter spout mark with L and R.
The left install at the front side of the driver and passenger rear side of the gutter. The right part adjusts at the driver’s backside and the front side of the passenger.
RV gutter system
Purchase an RV gutter from any hardware store or online at a suitable range.
These are available in the lining form with the best quality adhesive or sealant coating on its backside. Observe the proper dimension of it according to your vehicle requirement.
It has several advantages, like the ability to control the water flow and minimize discoloration and streaks.
Decide the area and wipe it thoroughly so that no issue occurs in its installation. Avoid touching the sealant or adhesive layer causes problems during its attachment.
Develop a DIY drainage system
If your vehicle does not have a gutter system, you can use a PVC pipe method to make a DIY drainage system.
In this case, measure the camper’s dimension and cut it according to its requirement. Next, install these onto the gutter groove of your vehicle.
Take a driller and make a hole, and put the screw to tighten it in its place.
You can also make a drainage spout by attaching a full-length PVC pipe at its end that channels out the water and remove the black marks.
Remove the silicone sealant
Sometimes the RV cover becomes tight that makes the gutter spout extension distortion or sealant worn out.
In this case, you have to remove the existing gutter spout and detach the silicone sealant. You can remove it by the mineral spirit and scraper.
This type of sealant has poor adhesive properties for the plastic. The silicon attaches to the existing gutter spout, so scrap it thoroughly without damaging the exterior quality.
Use the tennis ball
Purchase some tennis ball which is cost-effective from any local store. You cut a slit in them so that they fit on the gutter spout easily.
It prevents any scratch ripping or tearing and enhances its firmness. You can also install the swim noodles or pipe insulation around the edges and corners.
The purpose of these objects is to get firmness. You can also make it tight if you have mini cotton socks. You wrap these around the gutter.
Remove the plastic cork
You have to remove the plastic cork and vinyl trims from the vehicle and insert the dock. There is a screw that hides under this cover, so you should unscrew it from the gutter rail.
Install the gutter spout
You have to mark the area on the RV gutter sides where it needs installation and make a hole by the drill bit of suitable size according to screw.
The gutter spout should place behind the hole and insert a bolt inside it. Make it tight manually or with tool help.
Fix the plastic cover
Another step is to adjust the plastic cover. You have to use the sealant along the upper and bottom sides and let it dry for a while.
It can fix it onto its place and gives it a tight grip. The best glue use for this purpose is the Lexel, and Geocell Proflex RV is the best for this purpose.
You have to attach it on the edges carefully where it installs and caulked it in its place.
Use the RV cover guard spout kit
This kit helps to protect it, and it can adjust at both the narrow and wide spout mouth to prevent the snagging problem.
Its average cost with the best quality and color varieties is around $10-$15.
Things to Consider
Before proceeding with the replacement process, you have to take some consideration. Each gutter spout has its proper instruction and guidelines, but you follow some general rules.
Inspection of the existing gutter
In this case, you have to make clean and clear your RV gutters and do not delay this process.
You will need to tackle the existing gutter and free of any obstruction during its working.
You have to take proper inspection before proceeding with any method. When it is in working condition, you have to maintain its cleanliness.
Check the proper size
When you decide to perform the further process of installation, then measure the proper size.
You have to remove your new gutter spout from the pack. You will position it on the RV gutter to ensure that the size is correct according to the requirement.
Use the appropriate attachment
You have to use the minimal attachment for your spout. You can use the screws and fasteners for the tight adjustment.
You have to follow the proper instruction and adjust the assembly according to them.
Use the cleaner
When you travel and explore the different areas, your vehicle gets dirty. You have to clean it properly with an RV cleaner.
There are different varieties available like Fiberglass rubbing compound, Suds, and many others.
Use the Alligator Clip
Sometimes after installing or having the gutter spout facility but the water drainage problem still present.
In this case, the Alligator clip hack is the best idea to clean up the black streak. It is a cost-effective idea that converts the direction of water and directs it away from the area where the problem arises.
You buy it from any local hardware store or purchase it online. Take a wire and cut it into small pieces.
Pass it through the alligator clip and compress it by the pliers or wire crimper to prevent it from falling out.
Next, fix it onto the area where problems occur. You will notice that the water channel goes normal after its installation.
Insert the Rain diverter
In this case, the Alligator clip can also use in that area where the issue appears. For better water flow, you can make a bend that develops the best channel.
Related Articles:
How to install a cable-operated RV dump valve?